In the mid-20th century, popcorn ceilings were popular, especially in bedrooms. This coarse, corrugated fabric was used extensively in new homes from the 1950s through the 1980s for its unique sound-insulating abilities and knack for masking ceiling imperfections.
However, these textured ceilings can make a room dark due to their lack of light reflection and are often considered aesthetically unsatisfactory by many homeowners.
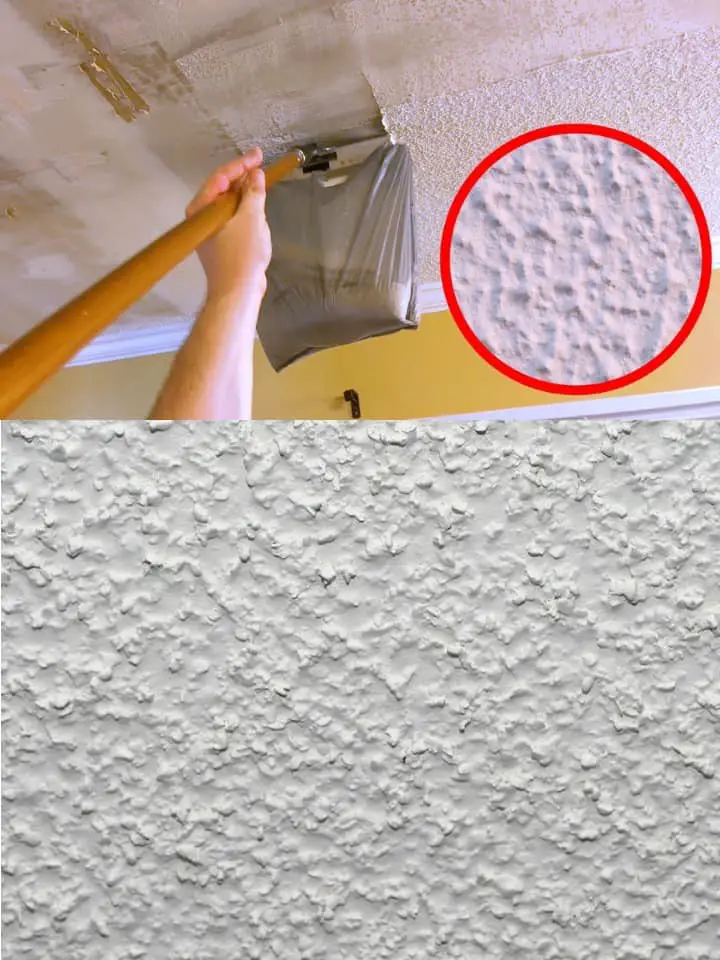
Fortunately, removing texture from popcorn isn’t as daunting as it sounds, though a bit messy and tedious. However, the improved look and brighter mood of your room after renovation is worth it.
Step 1: Preparation & Precaution
Fortunately, removing texture from popcorn isn’t as daunting as it sounds, though a bit messy and tedious. However, the improved look and brighter mood of your room after renovation are worth it.
Before diving into the project, be sure to have your popcorn ceiling tested by an EPA-accredited lab. If your home was built before 1982, the roof fabric may contain asbestos. If asbestos is detected, it is safest to hire a licensed professional who specializes in handling hazardous materials. If the fabric is asbestos-free, feel free to remove it yourself. However, remember to turn off the electricity in the room before you begin, as this is a water-based procedure.
To complete your reading, please click on >