Step 2: Protect and prepare the room
Understand that removing a popcorn ceiling is a complex business. However, proper preparation can significantly reduce post-project cleanup. Start by removing all the furniture and covering the room’s floor and the bottom of the walls (about 16 inches) with heavy-duty plastic wrap, securing it with duct tape.
Don’t forget to protect the upper walls, too. Glue around the perimeter of the room, just below the ceiling, and secure with additional tape. You may need to remove any ceiling fixtures such as fans, moldings, or pendant lights to ensure a smoother operation.
Step 3: Spray, wait, scrub
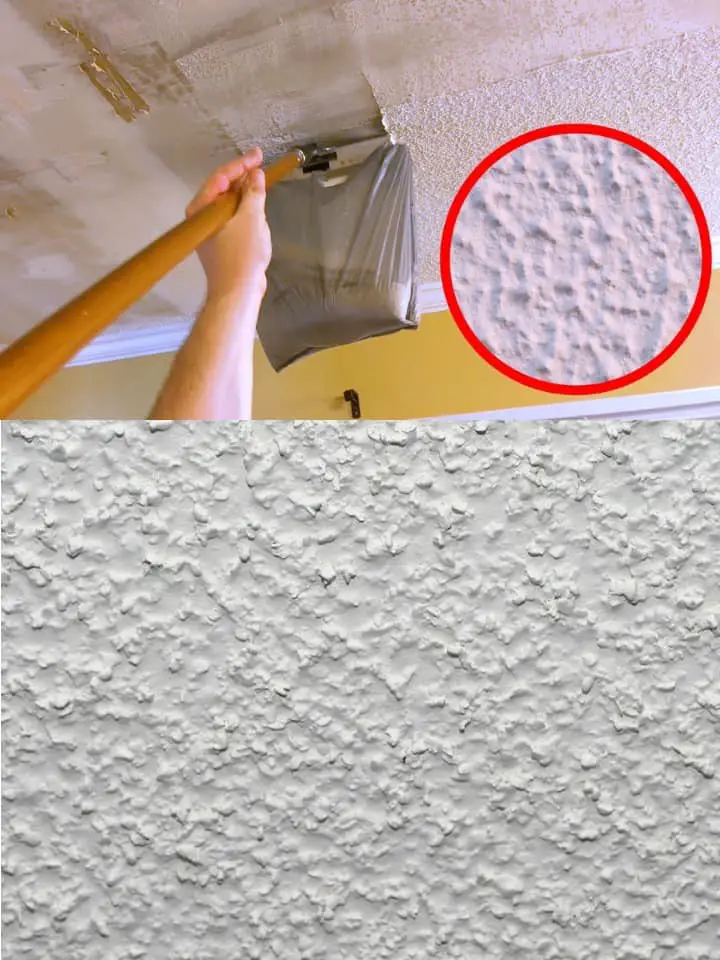
Divide the ceiling into manageable 4-square-foot sections. Using a garden sprayer, carefully drench the first section and let it soak for 10-15 minutes. Put on safety gear – a dust mask and goggles – and then climb a ladder to get to the wet area. Hold the putty knife at a 30-degree angle from the ceiling, and begin scraping the texture of the popcorn away. Continue this cycle of spraying, waiting, and scraping, working one section at a time until you have covered the entire room.
Step 4: Prime, Paint and Finish
Continue until you have scraped the texture of the popcorn all over the ceiling, revealing the bottom surface of the drywall. Once this is done, you may want to paint the ceiling and give it a new look. Since you’ve already protected the room with plastic sheeting, this should be a breeze. Remember to remove the chips only after the final topcoat has completely dried. Also, reinstall any devices you removed and restore power to the room.
Step back now and enjoy the transformation! A room will instantly feel brighter and more modern without a popcorn ceiling. Enjoy your new space!