Given that we were in the process of restoring our back deck what better time than now to install an awesome water feature.
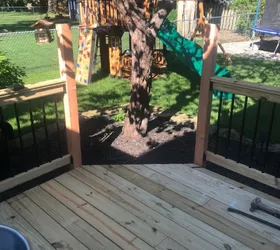
Determine Layout:
On this deck all existing structure was maintained we simply redid the top deck boards post and rails. This little corner angle happened to be the perfect location for what I had in mind.

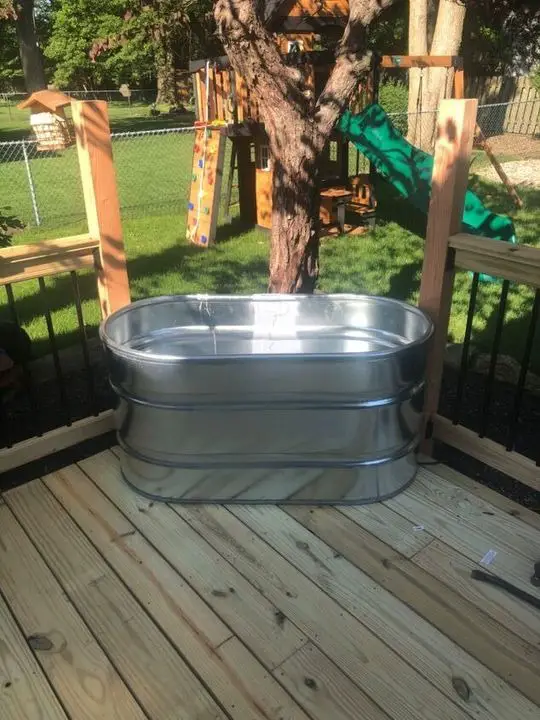
Test Fit:
Using a 4ft water trough I positioned between the two post to make sure it would fit as intended without taking up too much deck space. This sizing was perfect.

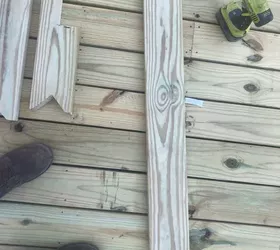
Making Braces:
Using a 2×6 I cut to the width between the two post. I laid the 2×6 on top of the post carefully aligning and marked the angles. Using a jigsaw I cut out each corner this allowed the brace to slide tightly between each post. I then made 2 additional exactly the same.
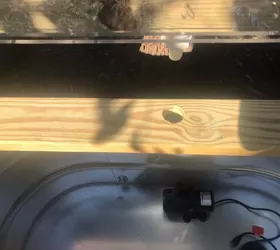
Drilling for Plumbing:
With the first brace in place I held the spillway in place to make sure the inlet fell in the center. Knowing the size of the tubing I then drilled a 1 1/2 inch hole.
To complete your reading, please click on >