Second Brace:
With the first brace now secure with hole drilled I visualized how far I wanted the overflow to be. To high left the potential to splash causing water loss and leaving the deck constantly wet. To low took away from the sound and effect. I believe I stuck around 16inch from top of trough. I secured second brace at this height. Then cut the notch out for the spillway.
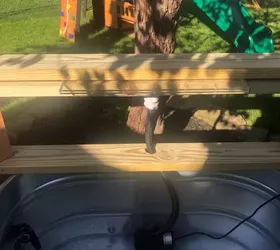
Set Spillway:
Set spillway in notch cutout in previous step slightly tilt it forward to assist in water flow. Ising the third brace place on top to secure spillway in place with a little pressure. I then ran my tubing through the hole and connected the spillway to the pump placed in the bottom of the trough.
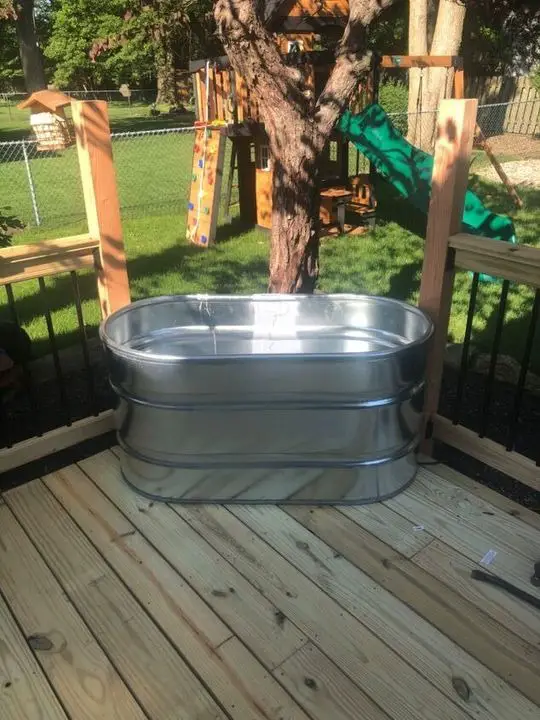
Test Run:
With everything in place and hooked up I added a little water into the trough and gave it a test run. This allowed me to make sure I had the proper size pump to feed the spillway. In my case for the 24inch spillway a 700 gallon per hour pump was plenty.
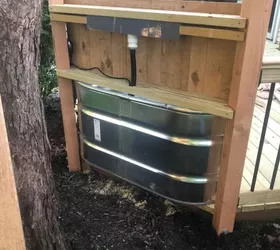
Back View:
View from the back to show how simple the plumbing connections are. This will be covered using a galvanized metal for easy removal to drain water of make repairs if needed.
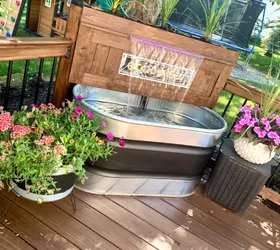
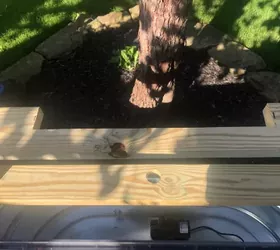
Close it Up:
With everything operating as it should I used a few fence picket boards to hide all of my plumbing. In doing so I created a cool little planter on the top although not very deep it adds a nice touch visually. Completed by staining with the deck and new railings. Electrical was ran from an existing outlet using an outdoor extension cord placed on a timer. ENJOY